Homemade Fresh Paneer / How To Make Low Fat Paneer At Home – Step by step preparation with pictures and a detailed video of homemade fresh Paneer or Indian cottage cheese with toned milk. The process is so easy and the taste much much better than the market bought.
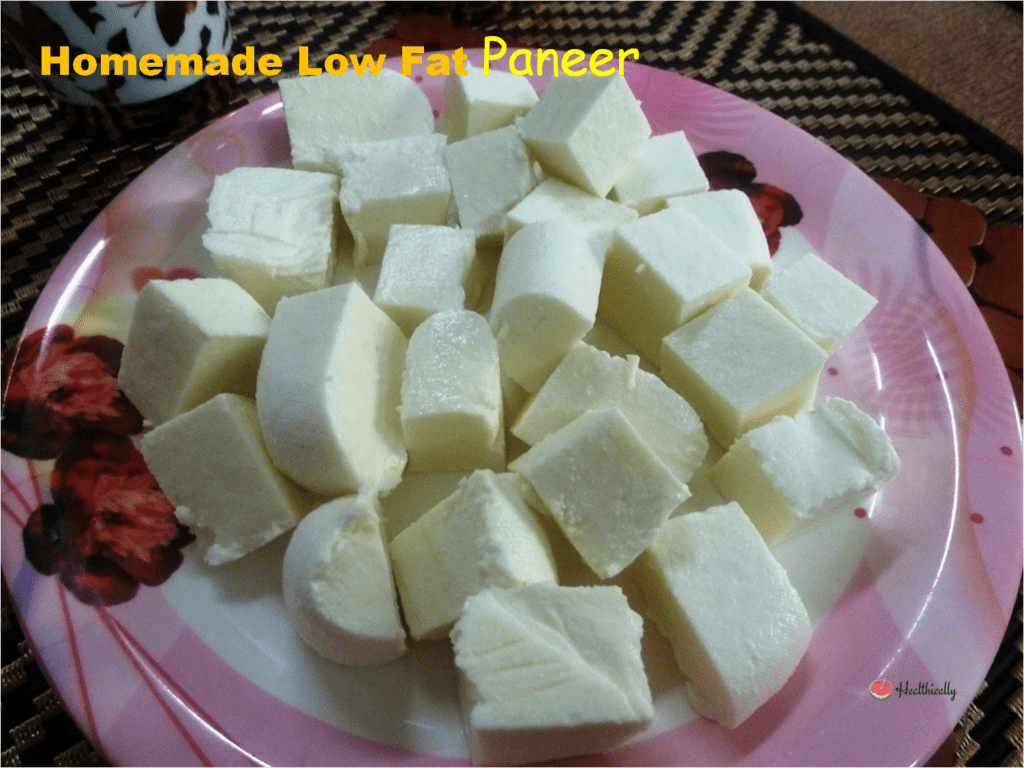
What is Paneer
Paneer is also known as Indian Cottage Cheese and we can easily make it fresh at home by curdling milk. It may be high fat or low fat depends upon the type of milk (Full fat or toned) used in the making of Paneer. Fresh Paneer has a good nutritional value than the ready-made one.
About Homemade low fat Paneer
Paneer made at home with toned milk is soft and delicious in tastes without using a preservative. The consistency of paneer is perfect for making any type of curries, deep frying or grilled snacks. you can also prepare Indian dessert and sweets out of it.
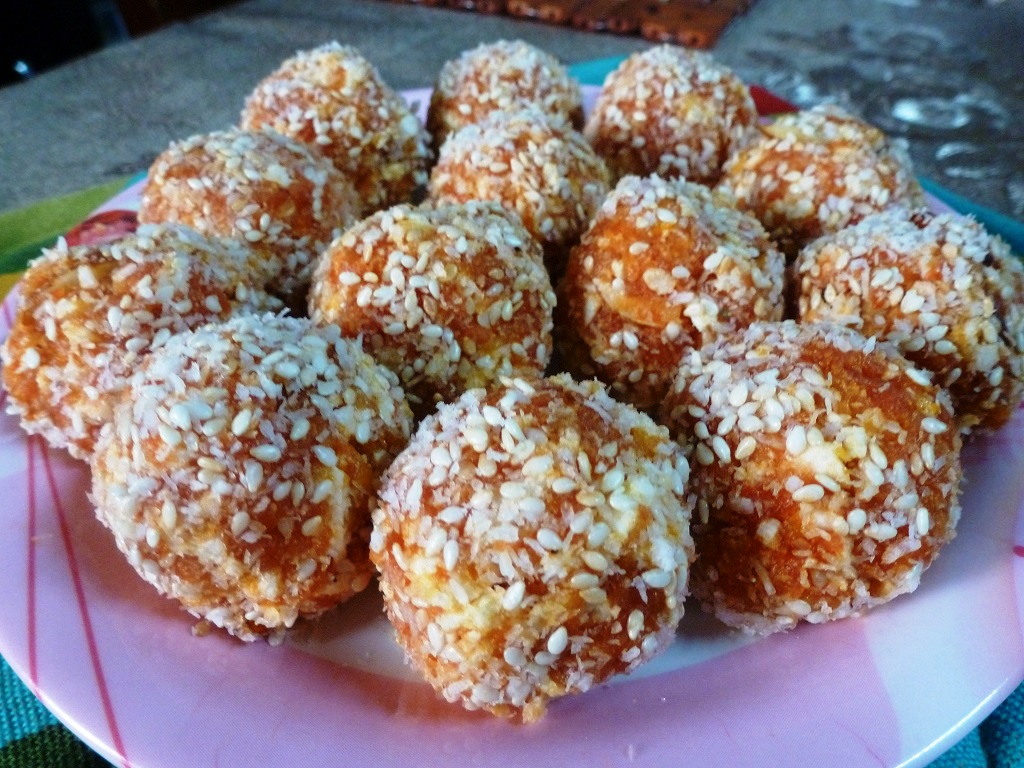
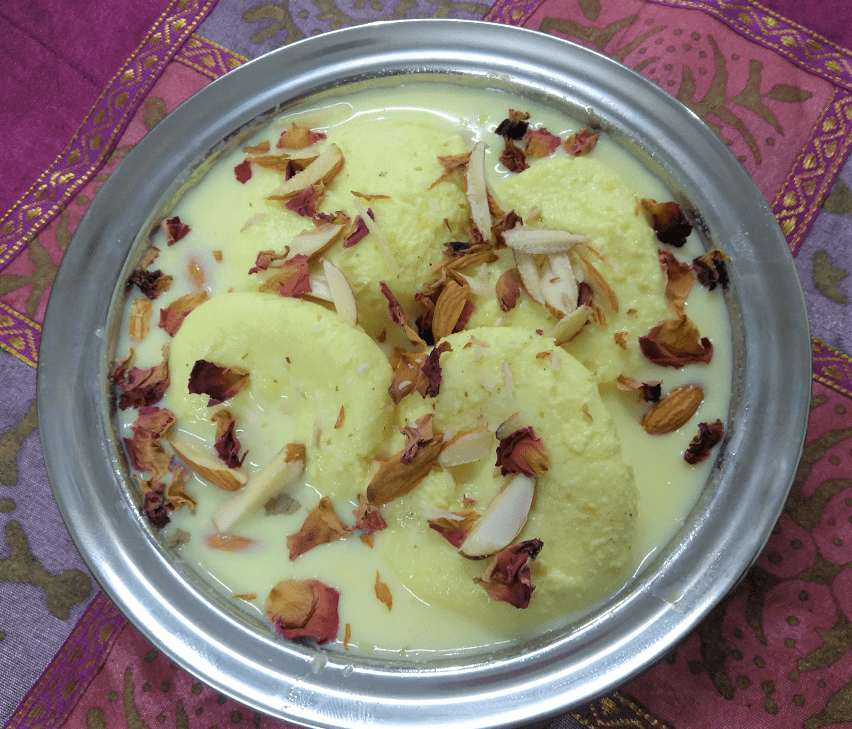
Dishes prepared with Paneer are favourite to everyone, especially to kids. They enjoy eating paneer dishes more than other dishes. we can use paneer in making shahi paneer, kadhai paneer, chilli paneer, paneer tikka, matar paneer, paneer do pyaja, palak paneer, paneer pakoda, paneer sandwich, ras malai, paneer ladoo or even can eat plain raw paneer as a snack.There is no doubt that these dishes are delicious in taste due to the presence of the star ingredient, paneer.
We can use either full cream milk, toned milk or cow milk for making paneer at home. I like to use toned milk to make paneer as it is low in fat content but high in nutrition.
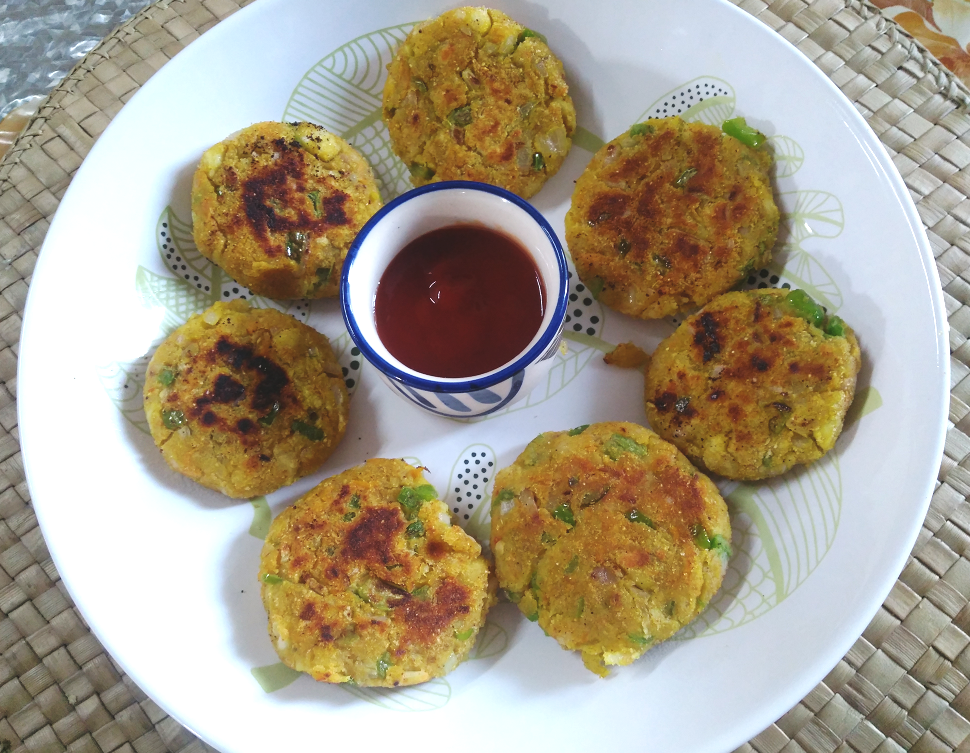
All paneer recipes either savoury or sweet I have posted on my website are made of homemade fresh paneer with toned milk. you can check kadhai paneer, ras malai, paneer ladoo, Chili Paneer With Soya Sauce, Besan chilla stuffed with paneer and veggies, Dry Fruit Tart with Paneer Filling
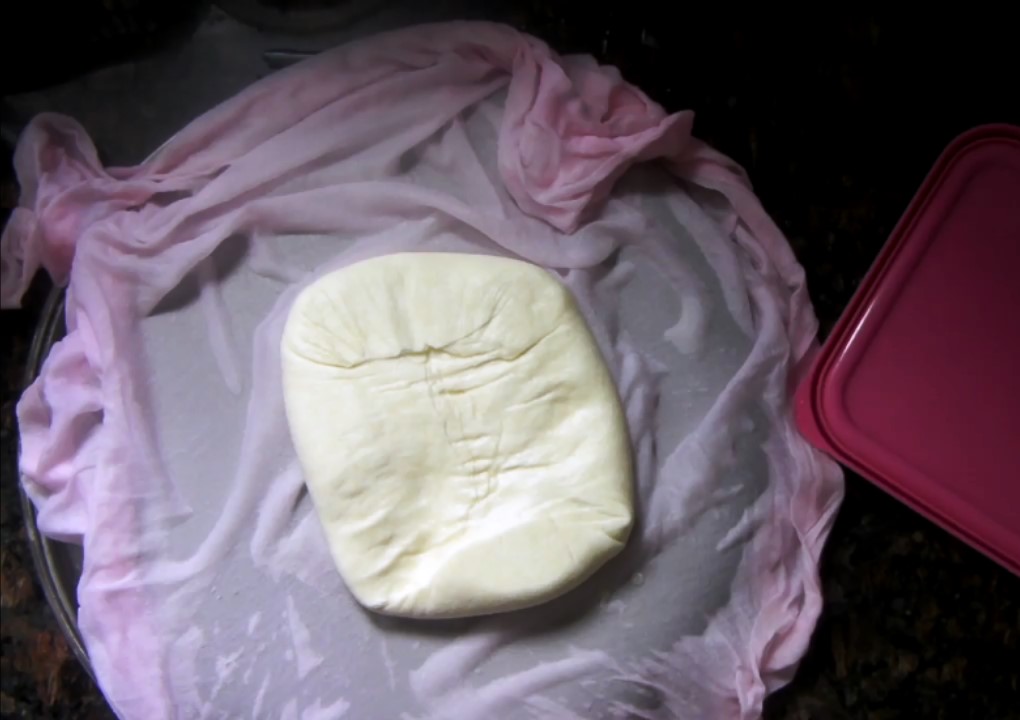
You will get a noticeable difference in the texture of fresh homemade Paneer or the market bought. Market bought Paneer is a little more smooth and firm than homemade but in taste homemade Paneer wins. To make a perfect Paneer every single time we need to keep some points in mind. For this, Please check the tips and tricks section below in the post.
Ingredients required to make Paneer at home
Raw milk(full fat, toned or cow milk) – I have used toned milk , for a more rich and creamier texture use full-fat milk instead.
An acid like citric acid, white vinegar, curd or lemon juice – these are some agents that are easily available and used in the making of paneer at home. I have used citric acid to curdle the milk.
How to make Fresh Paneer at home
To make paneer at home, first, we boil raw milk and then curdle it with the use of an acid and then set it into a thick curd. Dissolve either citric acid, white vinegar, curd or lemon juice in little plain water and then add to the boiled milk gradually and stir continuously till the milk fully curdles and separate a light green liquid. Strain it and put it under a weight till it firms. Check the detailed instructions below.
I got around 200-220 gm of paneer from this much of amount of toned milk. If full-fat milk is used you will get between 225-250 gm of paneer.
How to store Homemade Paneer
Homemade paneer stays best for up to 4-5 days in the refrigerator. once the paneer is set, transfer it to a container and fill enough water to cover it and then put it in the refrigerator. If you want to keep this paneer for more than 2 days change the water every day and it is best to consume it before the fifth day.
Health benefits of eating paneer
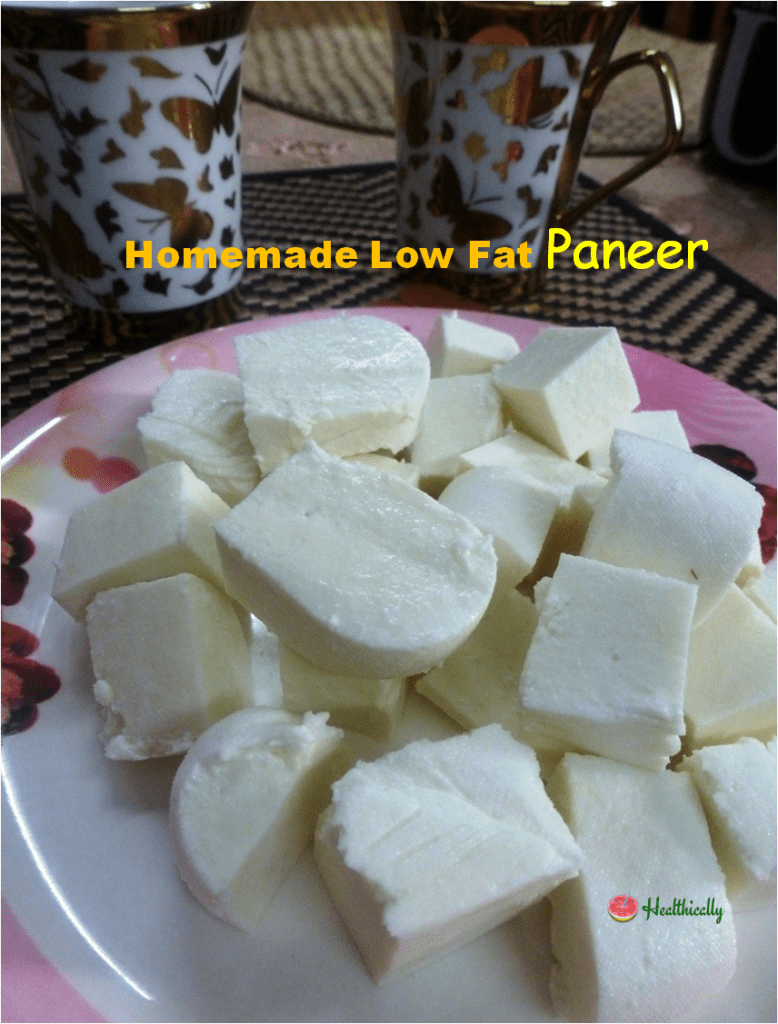
It is a dairy product made from milk either cow milk or buffalo milk. Paneer is to vegetarians what chicken is to non-vegetarians. It is yummy as well as very nutritious. Homemade paneer has good nutritional value and tastes better than the market bought.
- Paneer is a rich source of protein, calcium and vitamin D.This helps in reducing the most prevalent breast cancer in women.
- It keeps our teeth and bones strong and helps in the smooth functioning of our nervous system and heart muscles as it is rich in calcium content.
- Digestion of paneer is slow and it keeps you full for a longer time. That helps in the weight loss process.
- Magnesium content present in the paneer helps in regulating and maintaining blood sugar levels and is therefore a great option for diabetic people.
- It is a good source of folate and therefore a boon to pregnant women.
Can we eat paneer daily?
Yes, paneer is a good source of protein and calcium and can include in your daily menu. But at the same time, it is higher in calories, therefore eat in moderation is recommended. It is a good option for people who do a lot of workout or gym. They need a lot of energy and the right amount of protein. It is best if you eat low fat paneer than a full-fat one.
Step by step preparation of fresh paneer at home:
1. First, boil the raw milk. Use a wide pan to boil milk as it will be easier to curdle the milk.
2. Once the milk is boiled, switch off the flame and let it cool for 5-7 minutes. Take a small bowl, add a little warm water and citric acid. mix it till it dissolves completely in the water.
3. Now, add this mixture gradually to the boiled milk and stir continuously till the milk curdled completely. The liquid colour changes from yellow to light green it means the milk is fully curdled and separated the whey.
4. Once the milk curdled, do not leave it in the water for a long time. Take a strainer and lined it with a cheesecloth or fine cotton cloth and separate the whey from the solid part. Wash the curdled milk with water to remove the tartness of the citric acid.
5. Leave it aside for 3-4 minutes till extra water strain out. Now, put a big plate and transfer the milk solids with cheesecloth over it and give a shape of a square or round and cover with another plate. Put a weight over it and leave it for at least 1.5-2 hours.
6. Once the Paneer is set, remove it from the cheesecloth and transfer it to a container. Fill enough water to cover the Paneer, close the lid and put it in the refrigerator.
7. It stays best for up to 4-5 days in the refrigerator.
8. When you are ready to make any Paneer dish take out the Paneer from the refrigerator and remove water. Cut into the desired shape, make your favourite Paneer recipe and enjoy!
Serving suggestion
Low fat homemade fresh Paneer can be served as a healthy protein-rich snack for weight watchers and gym trainers. It is a nutritious snack for growing kids as well. Also used in the making of sandwiches, paratha, pakoda, salad, dry veg or curries or even in Indian sweets.
You may also like
Tips and tricks:
1. Use raw milk and boil it then start the curdling process. Do not use previous boiled and cooled milk for making paneer.
2. After the milk is boiled give a rest of 5-7 minutes and then add the curdling agent a little at a time and stir, otherwise, paneer becomes hard and chewy.
3. You can use either citric acid, vinegar, curd or lemon juice for curdling. dissolve them first in little plain water add gradually add in the milk and stir.
4. Use a cheesecloth or a fine cotton cloth to separate liquid from the curdled milk. do not leave it in the strainer for longer than 3-4 minutes otherwise, it becomes hard and difficult to give it a perfect shape.
5. To set the paneer, shape it and put a weight on it. leave it for at least 1-2 hours.
6. Once the paneer is set, remove the cheesecloth and transfer it to a container. Fill it with enough water to cover the paneer and put it in the refrigerator.
7. You can freeze the paneer but its texture becomes a little crumbly after defrosting.
8. Left over whey can be used in making curry or in dal. You can also use it to wash your hairs, it makes the texture of hair soft.
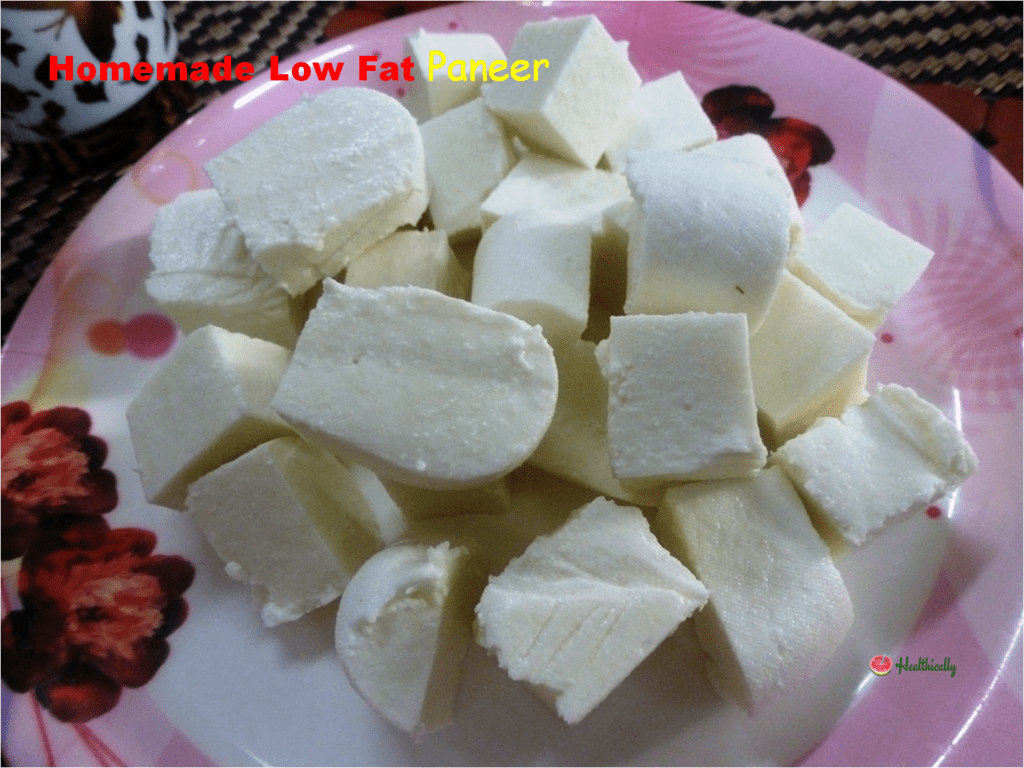
Recipe card for Homemade Fresh Paneer
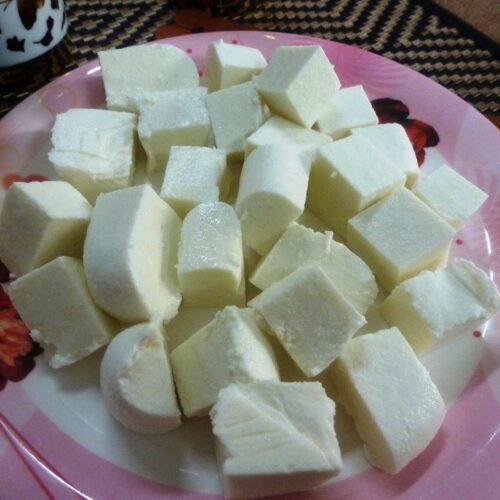
Homemade Fresh Paneer / How To Make Low Fat Paneer At Home
Ingredients
- 1.5 Litre raw milk (Toned)
- ½ tsp citric acid
Instructions
- First, boil the raw milk. Use a wide pan to boil milk as it will be easier to curdle the milk.
- Once the milk is boiled, switch off the flame and let it cool for 5-7 minutes.
- Take a small bowl, add a little warm water and citric acid. mix it till it dissolves completely in the water.
- Now, add this mixture gradually to the boiled milk and stir continuously till the milk curdled completely. when the liquid colour changes from yellow to light green it means the milk is fully curdled and separated the whey.
- Once the milk curdled, do not leave it in the water for a long time.
- Take a strainer and lined it with a cheesecloth or fine cotton cloth and separate the whey from the solid part.
- Wash the curdled milk with water to remove the tartness of the citric acid.
- Leave it aside for 3-4 minutes till extra water strain out.
- Now, put a big plate and transfer the milk solids with cheesecloth over it and give a shape of a square or round and cover with another plate.
- Put a weight over it and leave it for at least 1.5-2 hours.
- Once the paneer is set, remove it from the cheesecloth and transfer it to a container. Fill enough water to cover the paneer. close the lid and put it in the refrigerator.
- It stays best for up to 4-5 days in the refrigerator.
- When you are ready to make any paneer dish take out the paneer from the refrigerator and remove water. Cut into the desired shape, make your favourite paneer recipe and enjoy!
Video
Notes
Latest video
Try this healthy homemade fresh paneer recipe and let me know about your outcomes in the comments section below or tag #healthically on instagram. If you like this recipe, don’t forget to share it with your friends and family give us a star rating.


